

On this week's episode of Onboard Lifestyle we travel back in time to share the construction details of the bridgedeck head we built on our custom catamaran ...
Closed Captions (CC):
[Music]
okay welcome back to SB basic back in
episode 21 we did an in-depth recap of
how we built our galley and we got a lot
of positive feedback and a lot of
requests to show other projects that we
have completed on SB basic so that's
what we're gonna do we're gonna open
this up to a six video series the next
video we will cover the upper head and
go into some detail of why this is here
how we built it construction design
elements and go into some detail about
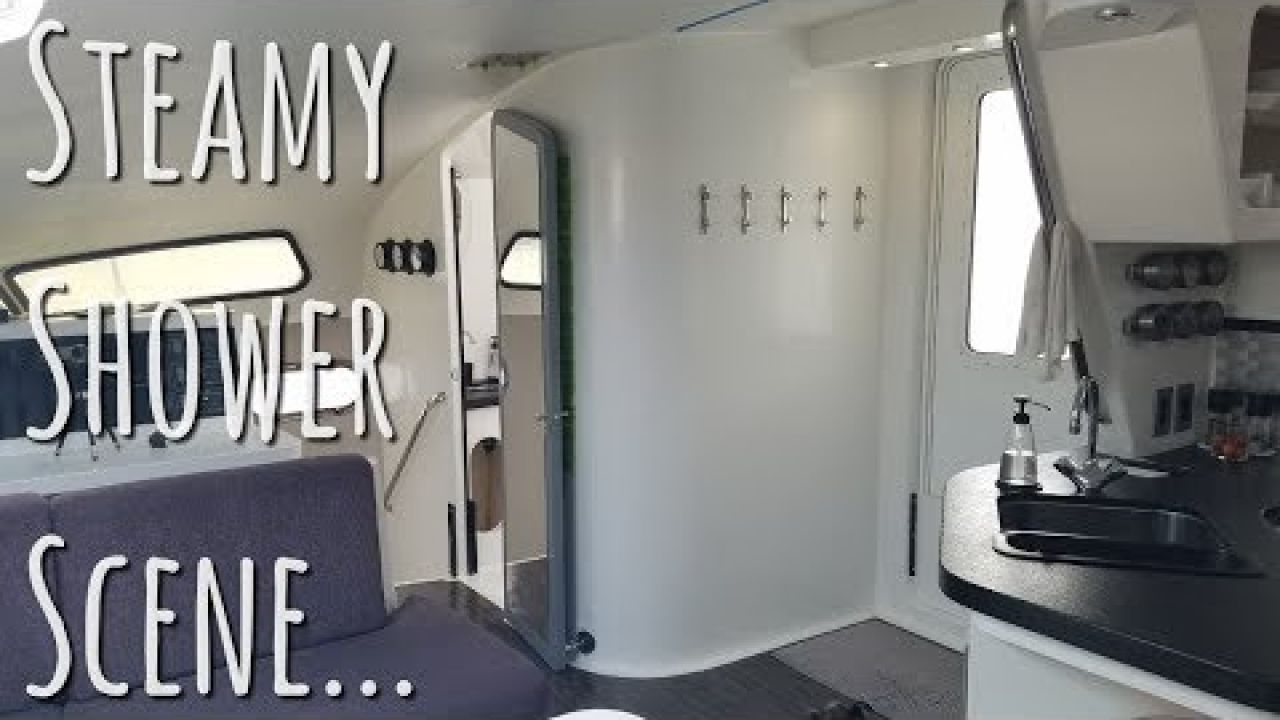
this project so stand by okay let's talk
about this area of the boat the salon
itself is good size salon and it gave us
a lot of options let me spin this around
give you an idea we're able to squeeze
in everything we wanted on the main
salon not a lot of cats have a head on
the bridge deck here but we wanted one
and we want to look for a reason last
time we were cruising it'd be nice to
have a head close to where all the
action is rather than go all the way
down stairs or to the bow of the boat to
the head so we decided we wanted to use
this area for our head previous owners
had used it for multiple other things we
found photographs on the internet that
showed how this area really evolved over
the years from owner to owner we found
photographs where it was used for a
daybed for a dog
we found pictures the show that looked
like some sort of seat was trying to be
constructed when we purchase it it was
even different so we came up with this
design
just from our own experience of what we
wanted in a boat so our last spot was
pretty awesome
I really loved it and teal did a great
job doing everything in bird's-eye maple
it was pretty amazing so for our head he
kind of extended the design into there
as well
but one of the things that I was a
little afraid of was the smell of wet
wood I don't like the smell of that and
so we decided not to have a shower
inside and opted for an outside shower
so solar showers for everyone which was
great we went we're down in Mexico
but it got a little interesting and we
had to get really creative we're sharing
in an anchorage with other cruising
pavers around when we're talking about
how we came up with a size for this room
we really had to pay attention to access
to the cockpit and access to the stairs
that dictated the size of this room I
could have pushed it that way further
into the hallway because there is just
storage there but I also wanted to
create storage we came up with a size so
we're able to squeeze everything into
really efficiently
[Music]
okay let's talk about how we constructed
this this is a fiberglass skin over a
marine grade poplar veneer that is over
foam and vertical grain fur so what I
did was I started with a vertical grain
fir and I did my layout of the room with
one by two vertical grain and I was able
to insert all those in using epoxy and
stainless pocket screws to hold the
structure together now at this point
this is not what's gonna give the walls
the strength the strength is going to
come with the fiberglass cloth and the
epoxies as we layer it over and blend it
into the cabin top and into the deck so
the next thing we would do after that
was insert a high-density foam and I did
that for a couple reasons
it's nice that you don't push on a thin
three millimeter veneer and be able to
push through it so that high-density
foam makes this feel solid it gives you
sound dampening so this room is very
insulated very quiet it gives you a nice
surface so when I'm bending this veneer
around it doesn't want to dimple in
between the ribs and it worked out
pretty well so the next thing I would do
after the foam was take that thin three
millimeter poplar it was a marine grade
ultralight poplar veneer and I glued it
with wet system with thick and epoxy and
bent it around this entire perimeter I
did just the opposite on the inside I'd
actually do an inside Bend on the inside
so this wall actually Nets out at about
inch and 3/4 thickness
[Music]
[Music]
let's talk about this vanity when adult
this vanity first of all a lot of people
don't realize how long ago I built this
entity it was a long time ago but I
built it using the same construction
methods as I did the walls I started
with the vertical grain fur and framed
out my cabinet box I was unable to put
in the foam core and skinned it with the
ultralight 3 millimeter marine grade
poplar skin I did it loose so I can work
on both sides of this and get the
majority of the Interior glassed before
I permanently affixed it in place then I
was able to wrap glass around this and
blend it into the walls and into the
deck
[Music]
so when we designed the head
my mom she wanted a big counter space so
my dad had to get really creative this
is how you open it there's the head and
this is how you close it
okay let's look at the lighting in here
lighting in a small room it's tough to
get lighting evenly throughout when it
gets dark out but we did a pretty good
job on this I built these lights off
it's one here that's switched right here
we put under counter lighting in and I
built the lights off it in the shower
this one was a little trickier to get
the power to these lights I don't have
to run a 92 foot lead if I wanted to
switch it over here that's a lot of
extra weight so instead I put a
waterproof switch right here and ran
that power lead
through this soffit here and down to the
nearest lighting sub panel right here
you know the downside is I can't switch
it like a normal wall switch like I have
everywhere else in the boat that's the
only switch that is switched differently
it drives me crazy but it saved a lot
away
[Music]
okay let's talk a little bit about the
plumbing in here okay in the shower this
is the scan big Aquafina comes with a
mixer which is nice we actually have
been using this for a couple years and
it works real well the plumbing behind
the scenes here runs behind the
headboard and down over to our hot water
system which is located on the backside
I've had enough room when I push this
wall this way to put a water closet
there the galley see fit faucet with a
scan big thing this is a small sink but
this is a small area it's 10 inches in
diameter but it's 7 inches deep so the
smaller the sink the deeper you want to
go keep water from splashing out now
let's look at some of the plumbing
behind the scenes pretty straightforward
here's a little trick I like to do is
anytime a plumbing runs through a
horizontal surface I'll raise that
surface up that's so if let's say let's
say I develop a little drip here and it
drips down here it contains it in here
without following the hose down to the
next surface down so I could if I see
any water pooling I know I have a
problem in fact I do this every time a
hose goes through a horizontal plane
it's a lot of work up front I even put a
future one in for this lead here so if
any of this plumbing leaks it'll drip
down to this pan here and have to fill
all the way up before it starts going
down to the next Locker down and
hopefully I'll notice that before that
happens now looking out that sink drains
comes through to it through hole fitting
pretty straightforward okay the head we
chose we went with the sexiest head on
the planet the Japs go manual well we
chose it for a reason we could have put
anything in here we could have put
electric we could have put some fancy
toilet in here but you know what we went
with simple and we went with simple for
a reason this head is probably the most
widely sold head on the planet and you
can find parts anywhere we were deep in
Mexico and we're able to find parts to
this real easy and so that's what we got
with it it's not pretty it's not
luxurious
but you know what what you're doing in
it isn't either
[Music]
okay let's look at this wall here and
why I placed it where I did I could have
ran that wall all the way out here and
gained a lot more square footage in that
room but I was able to fit everything in
there that I needed by pushing that wall
to here look what I gained I was able to
put a nice towel Locker
I was able to fit our fresh water system
then by extending that floor it's
looking this longer extended the floor
out quite a ways and what it created was
a locker large enough to put our this is
an electric engine driven hot-water
heater
our manifolds in here for the water
system and all your general plumbing
below even further I was able to tuck
this in here
this door you access through the bottom
step you pull this pin
and there's the holding for that head we
have one more holding tank forward for
the master head
[Music]
[Music]
mirrors in this room are important
because it's a head we installed a
full-length mirror right here
[Music]
and then right here this mirror serves
two purposes it's a mirror and it's a
medicine cabinet
[Music]
pick up this okay now let's talk about
the shower pan when I designed the
shower pan
well actually here's the best way to
demonstrate it this is payback tool in
hang on we're doing a video this is the
best way to describe how a shower works
just trust me I'm not showing a thing
nothing better show we wipe that screen
off okay when I design the shower pan
I built it just like the rest of the
wall I use VG fir and layered the poplar
on and then laminated multiple layers of
glass cloth I deform the shower panel so
everything sloped down to the drain the
bridge deck naturally wants to go
Compass get out of here the bridge deck
naturally is sloped this way so all I
had to do is build up a little bit over
here and over here to drain down it
worked out pretty good don't you say
honey it's getting cold
okay close the curtain I am so gonna get
you back
sorry alright so before we get started I
have a message for teal I'm gonna get
you back for what you did you don't know
when you don't know how what I'm getting
you back so you better sleep with one
eye open mister oh the prank thank you
so much for watching and following our
journey we are getting really close to
setting sail I can almost taste it
almost and remember if you liked the
video give us a thumbs up be sure to
subscribe and if you really liked it
check out our patreon campaign in the
link below come back next week for one
of our awesome videos see you then bye
Onboard Lifestyle ep.25 New Catamaran Head from Scratch!
Uploaded by:
Onboard Lifestyle
•
Category:
Boat Building/Maintenance/Repair, Instructional
•
Added on
17 August 2018
Description
On this week's episode of Onboard Lifestyle we travel back in time to share the construction details of the bridgedeck head we built on our custom catamaran...
Closed Captions (CC):
[Music]
okay welcome back to SB basic back in
episode 21 we did an in-depth recap of
how we built our...
Closed Captions (CC):
[Music]
okay welcome back to SB basic back in
episode 21 we did an in-depth recap of
how we built our...